Adding an Image to the Portal
To add an image to the portal using the HTML Editor, follow these steps:
-
Click the Insert/Edit Image button
 . The Insert/Edit Image pop-up displays:
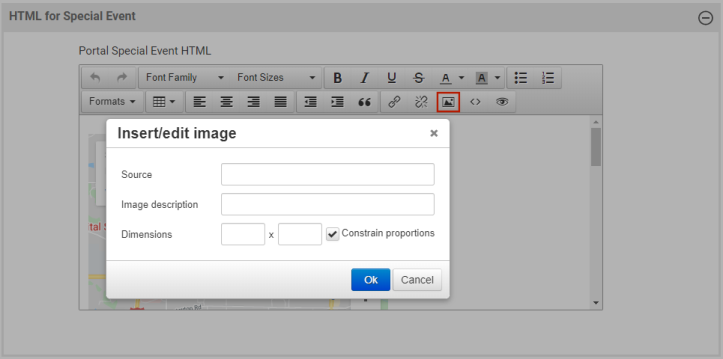
Images cannot be dropped into the editor window. They must be referenced in a location that can be accessed from the Portal Website in IIS.
The easiest way to make an image accessible is to store the file in the IIS webroot directory and reference the location in the HTML Editor.
To do this, Administrator access to the server hosting Parks & Rec is required.
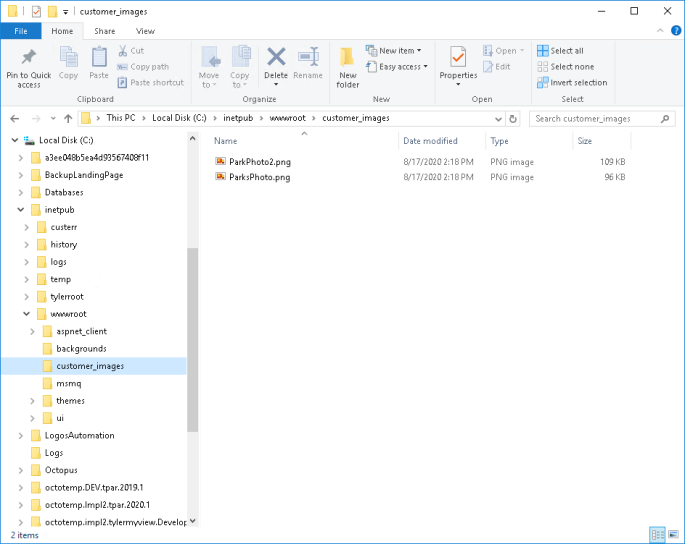
- Log onto the Parks & Rec server as an Administrator.
- Access the file system with File Explorer and navigate to C:\inetpub\wwwroot.
-
Create a directory in wwwroot to store your images, and place your image in the directory. A .png file format is preferred.
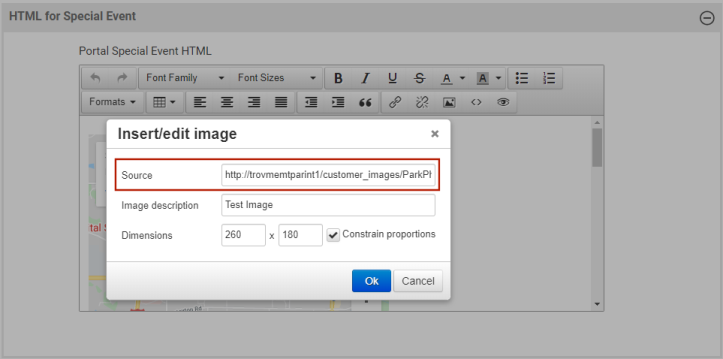
Reference to those images will take the following form:
http://<server name>/<your images folder location under wwwroot>/<image file name.extention>
For the example below, the location to reference is http://trovmemtparint1/customer_images/ParkPhoto2.png:
-
Enter this location as the Source in the editor:
- Click OK.
-
Click Save at the bottom of the page.
Note: The website may need to be restarted before the image displays in the portal.